Brad Pitt|Angelina Jolie|Selena Gomez
“She [Selena Gomez] was bragging to everyone that Brad is gung ho to make another movie with her,” a source said.
3m ago
Cardi B
Cardi B posted, "...I was so thirsty to buy my mom a home...I could only afford a house that cost $600,000...I waited until I could afford a dream home."
7m ago
Miley Cyrus|Gwen Stefani
"When I ran across Miley first time ever in my life I was like, 'Oh my God, Gwen Stefani, Gwen Stefani!" Flav recalled.
9m ago
Travis Barker|Kourtney Kardashian
Travis said, "Happy Birthday my beautiful wife, soulmate and best friend forever. I love our life together. Thank you for being most amazing wife."
32m ago
Tom Sandoval|Raquel Leviss
During an episode of her podcast Raquel Leviss delved into the intricate considerations to pursue legal action against Ariana Madix.
1h ago
"I think a lot of people have asked me that question and I think exes shouldn't be going to your wedding,"?Cameron said.
Kate Middleton
Catherine, Duchess of Cambridge, entered into the royal family, which holds assets valued at nearly $30 billion.
By the age of 13, O.J. was leading the "Persian Warriors" gang. He was a wild kid and that wildness always got him into a lot of trouble.
Spelling acknowledged, "And after Beau, I was 160, and I couldn't lose the weight and the doctor was like, 'It's an age thing.'"
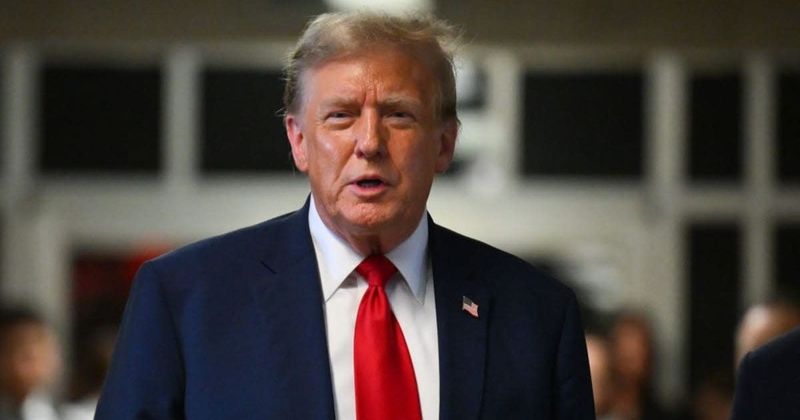
Donald Trump
“I will not have any jurors intimidated in this courtroom,” the judge asserted, scolding Donald Trump.
"There were occasions when we pulled up the floorboards and unscrewed the end of the telephones to spot any listening devices", Burrell said.
A source close to the Trumps claimed, "She's [Melania] not going anywhere. She's there for him [Trump]. They're going through it together.
2h ago
Gwen Stefani|Blake Shelton
While Blake Shelton was "devastated" after his divorce from Miranda Lambert, Gwen Stefani's "life fell apart" post-Gavin Rossdale split.
Taylor Swift|Travis Kelce
"New Heights" premiered last year and it marked Wave's first venture into developing original content.
"Trump doesn’t care. Lock him up already. When will he be treated like the rest of us would be," a user complained.
Meghan Markle
In a video posted on YouTube, Thomas Jr. poked fun at Megan by sporting a wig and tiara and introducing himself as 'Me-again Swamp-donkey Crotch'.
3h ago
Caitlyn Jenner
Caitlyn stated, "Obviously he did it, and he got away with it...he even told Nicole, 'I'll kill you and get away with it 'cause I'm O.J. Simpson.”
A user said, "Trump violates the rule of law. Trump violates the rules of the court. Fascists want to 'rule by law,' not be held accountable to the rule of law."
A Donald Trump critic said, "I'm not gonna lose faith in it now. This judge knows what he's doing. We have to let the process work."
4h ago
"It wasn't until the season she came back, the next one, that the pieces were falling together," he summerised their first meeting.