Tammy recenthy shared a TikTok. JoJo Siwa was quoted in the audio that aired stating, "No one has made this dramatic of a change yet."
24m ago
Selena Gomez
Daniel Samonas recalled, "She was dating Nick Jonas at the time. "So that was kind of like, 'Oh, they're gonna make me kiss another dude."
55m ago
Kim Kardashian|Jennifer Lopez
The evolving friendship between Kim Kardashian and Jennifer Lopez is under the spotlight, with social media hinting at a potential feud between the two.
12h ago
Priscilla said, "I always felt that [MJ] loved Elvis... so I always felt that having the name, associated with the name with his daughter, I was concerned."
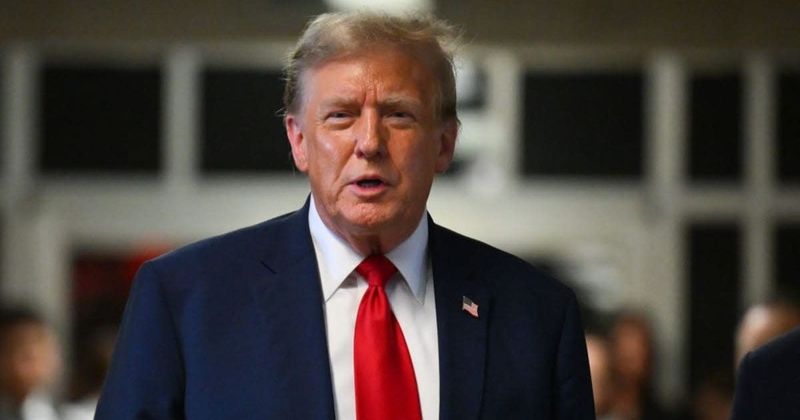
Donald Trump
Melania's modeling pursuits took a backseat after her 2016 GQ feature, and according to Donald Trump, she has no plans to return to the industry.
13h ago
Kris Jenner
Corey Gamble avoids controversy, but in 2014, when his ex accused him of stalking her amid a new romance with Jenner, the "momager" stuck by her beau.
Taylor Swift
“I think he screamed out something like, “I have a new baby at home!” said Taylor Swift.
George Houraney recalled, "At the very first party, I said, 'Who's coming tonight? I have 28 girls coming.' It was him and Epstein."
"I wasn't aware that he went to any of the kids' graduations," said Cohen, bashing Trump.
14h ago
Gwen Stefani|Blake Shelton
“This is what we do here. We get on stage and yell at the audience,” Blake Shelton said during the grand opening of the Vegas bar
According to Hugh Grant's attorney the journalists from the publisher had unlawfully accessed his private information.
“I thought STRIKES were supposed to be ‘unlimited’ when we were picking our jury?” Donald Trump said recently.
A user mocked Habba, "You’re in a blue state because that’s where trump committed his crimes, dumbass. Have you always been this stupid?"
Trump’s boast of thriving on minimal sleep, just four to five hours a night further adds to the puzzle.
15h ago
Meghan Markle
A Meghan Markle supporter said, "You haters monitor every move. Meghan and Harry are building their empire. You should do the same."
16h ago
"To unjustly disparage a fellow female producer speaks volumes,” a representative for Sydney Sweeney said.
A reporter said, he "appeared to nod off a few times," and people in court saw "his mouth going slack and his head drooping onto his chest."
Donald Trump|Joe Biden
This downward trend has persisted over the following weeks, with the stock plummeting nearly 68% since its initial trading.
Joe Concha, a Fox News contributor, slammed the error, “I mean... there's no shot this wasn't intentional.”
"When your suit can house a family of four, you're not ready for a GQ photo shoot, and you're sure as hell not a 'style icon.'"